How to change the brake pads on a BMW motorcycle step by step
June 16, 2025
If you're a trail rider, adventurer, or a fan of basic mechanics, knowing how to change your motorcycle's brake pads is an essential skill. Not only will you save money at the shop, but you'll also gain confidence and knowledge about your own machine.
Why is it important to change brake pads?
Brake pads are one of the most important components of a motorcycle's safety system. Their natural wear, especially if you combine on- and off-road riding as we do in our courses and tours, can significantly reduce braking performance.
Worn pads don't just brake worse: they can damage the brake discs, reduce the bike's overall performance, and put your safety at risk.
How often should they be changed?
There is no magic number, as wear depends on many factors:
Type of driving
Usual load and weight of the motorcycle
Intensive use of the front or rear brake
Weather and terrain conditions
As a general guide, if the pads have less than 2 mm of material, it's time to replace them. Also, if you hear metallic noises or notice a loss of braking efficiency.
Necessary tools
Before you begin, make sure you have:
A set of brake pads compatible with your BMW model (e.g. F850GS, R1300GS, etc.)
A suitable Allen or Torx key
Flathead screwdriver
Torque wrench (recommended)
Copper or ceramic grease (optional)
Wire brush or brake cleaner
Nitrile or mechanic gloves
Step by step to change the brake pads
1. Park the motorcycle safely
Place the motorcycle on a flat, stable surface. If you have a center stand, use it. If not, make sure you securely chock the wheel to prevent it from moving.
RM Motos Trail School Council : Never work with the motorcycle on the side stand if you are going to remove the wheel or apply significant force.
2. Remove the pin from the pads
Locate the brake caliper (front or rear) and find the pin that holds the pads. On most BMW models, it can be removed with an Allen or Torx wrench.
Using the screwdriver, gently push the pads inward to free up space. This also helps return the pistons to their original position.
3. Remove the old pads
Once the pin is removed, the pads should come out easily. If they're stuck, you can use a flathead screwdriver to help you pry them off, being careful not to damage anything.
Look at the wear: if one is more worn than the other, it could be a sign of a problem with the pistons or improper caliper movement.
4. Clean the brake caliper
Use a soft wire brush and a little brake cleaner to remove dirt, brake dust, and built-up grease.
Important! Never use greasy or abrasive products. And avoid touching the discs or pads with your bare fingers.
5. Check the pistons
Using a lined screwdriver or other special tool, gently push the pistons back so they can accommodate the new pads.
If any of them are stuck, they may need further inspection. In our courses, we also cover how to check the condition of the pistons to prevent unpleasant surprises on the road.
6. Install the new pads
Insert the new pads into the caliper, making sure they fit properly in the guide. Replace the pin that holds them in place.
Here you can apply a dab of copper or ceramic grease to the back of the pads (where they touch the piston), but never to the braking surface.
7. Tighten to the correct torque
Reinstall the pin and, if removed, the caliper bolts with the torque wrench, applying the torque recommended by the manufacturer.
This is vital to keep everything safe and functional.
8. Pump the brake lever
Before you go out and test drive the bike, pump the brake lever (or pedal) several times so that the pistons push the new pads against the disc.
You'll see how it builds pressure until it's ready to brake safely.
9. Stationary test
Do a quick test while stationary to check that the lever is providing adequate pressure and that the disc isn't rubbing excessively. You can also roll the bike a few meters and apply the brake to check for proper brake response.
10. Breaking in the pills
It's essential to properly break in new pads. Avoid heavy braking for the first 200-300 km. The pads should adapt to the disc and reach operating temperature gradually.
What if I have Brembo, Hayes or Tokico calipers?
BMW installs different brands of brake calipers depending on the year and model. Although the procedure is very similar in all cases, some models may require specific tools.
Special cases: rear brake and off-road
On trail bikes like the BMW F850GS, the rear brake can experience more wear than on road bikes. This is because, off-road, it's used much more to control traction on loose terrain.
Here are some extra tips:
Check the rear brake more often
Apply progressive braking techniques on tracks
Avoid contaminating the rear disc with mud or oils
What type of pills should you choose?
There are three main types:
Organic : Soft, quiet, and comfortable to the touch. Recommended for mixed and urban use.
Sintered : More durable and effective in extreme conditions. These are the most common tires on trail bikes.
Ceramics : High durability and thermal resistance, but more expensive.
Do it yourself, but do it right
Changing your BMW's brake pads isn't just possible: it's recommended. It allows you to get to know your bike, save on repair costs, and be prepared for any unexpected events during a trail ride.
Of course, never underestimate the importance of doing it right. Improper assembly can compromise your safety.
Frequently asked questions about changing brake pads on trail bikes
How many kilometers should brake pads be changed every?
As a general rule, brake pads are changed between 10,000 and 20,000 km , although this interval may vary depending on several factors:
Your driving style (more aggressive = more wear)
The type of pads you use (organic, sintered, ceramic)
The type of motorcycle (weight, whether it has an integral braking system, etc.)
Practical advice : Always consult your motorcycle's maintenance manual. Also, if you notice that the brake fluid is very dark , it could be an indirect sign of excessive wear on the brake pads.
Is it necessary to drain or bleed the brake fluid when changing brake pads?
It's not mandatory if you're only changing the pads. However:
Yes, you should check the fluid level after installing the new ones.
If the fluid is more than 2 years old , it is advisable to do a complete purge .
If the fluid level is still low after changing it, it could indicate a leak in the circuit , and you should have it checked thoroughly.
Do you have to change the front and rear pads at the same time?
Not necessarily . You can only replace the worn axle (front or rear). In fact, on trail bikes like the BMW F850GS, the rear brake tends to wear out faster due to track use.
Of course, check both systems frequently and never neglect either of them .
How do I know if my pads are worn out?
These are the clearest signs:
The thickness of the friction material is less than 2 mm .
You hear metallic noises when braking .
You notice a longer braking distance or a loss of efficiency .
The brake reacts more spongy or progressively than normal.
In our Trail maintenance courses, we teach you how to detect these signs early to avoid problems on the road.
Should I change the pads in pairs?
Yes, you should always replace both pads on the same caliper at the same time . This ensures:
Balanced braking
That there is no uneven wear
Optimal system operation
Never replace just one pad in a set: you compromise your safety and the condition of the disc.
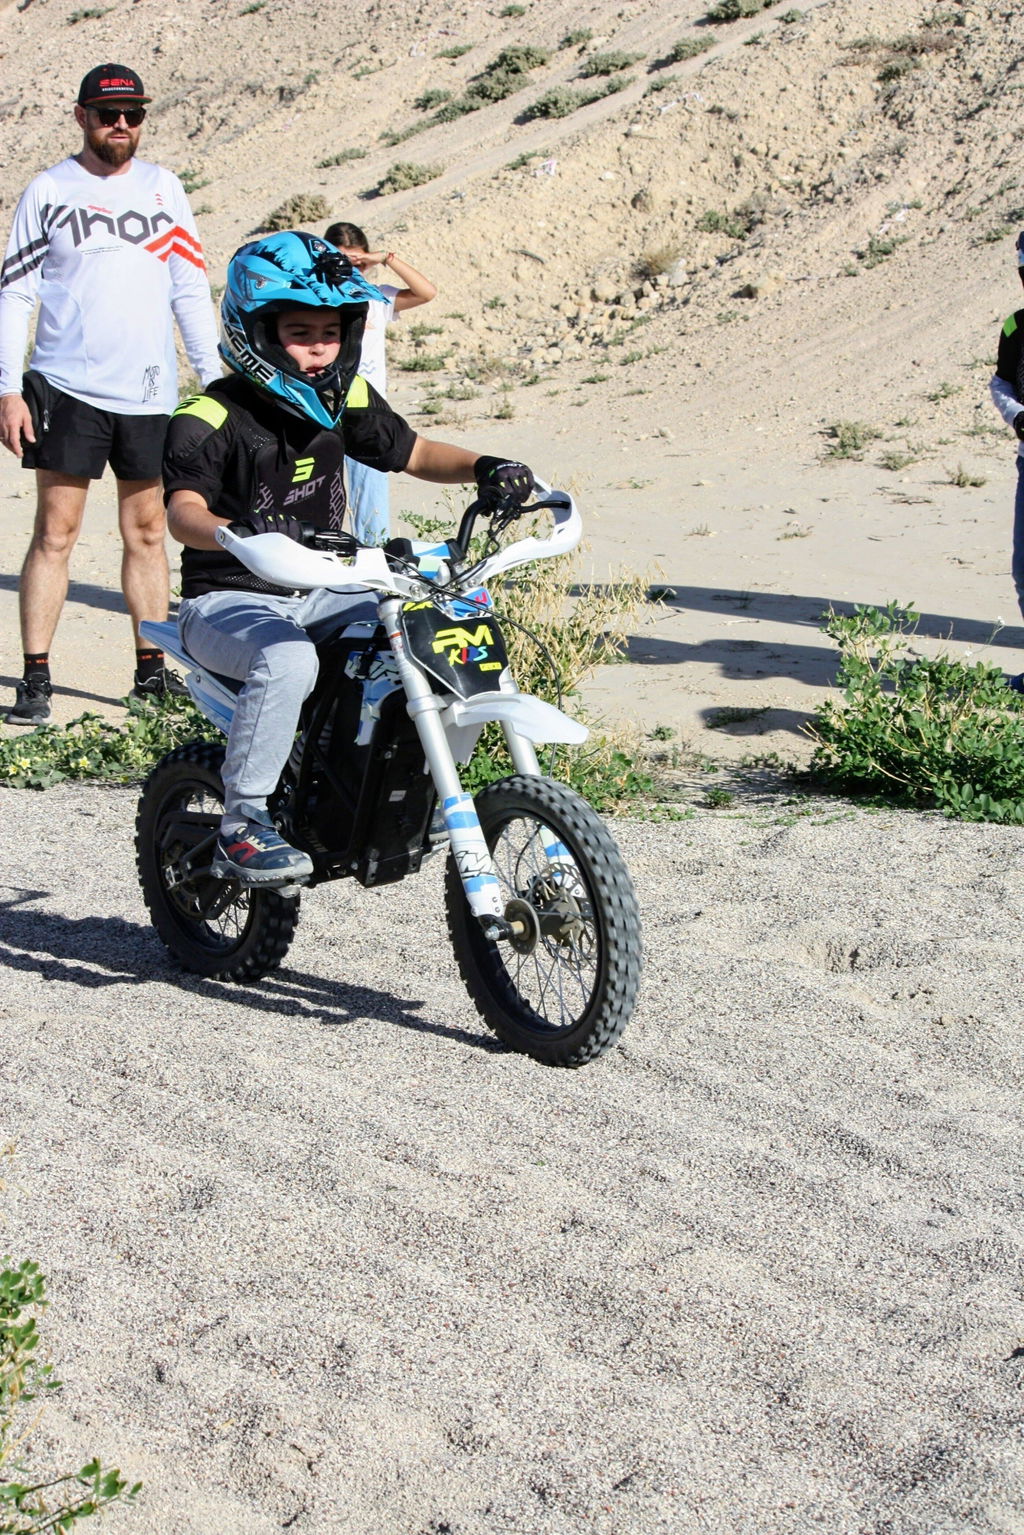
A trail riding course for kids at EscuelaTrailRMMotos.com is much more than learning to ride: it's a school of values. Through progressive and safe exercises, we work on responsibility, self-control, teamwork, perseverance, respect for nature, and decision-making. Families participate in the process so that what they learn becomes life habits on and off the bike.
The 1000cc+ trail bike market is experiencing a golden moment. The revamped BMW R 1300 GS maintains its leadership, but the new Moto Morini X-Cape 1200 is making a strong entrance, offering a more affordable and well-equipped alternative.
A trail bike course in Spain is the key to learning how to ride your maxi-trail off-road with safety and confidence. In this guide, you'll discover the different levels (beginner, intermediate, and advanced), prices, techniques you'll learn, the necessary equipment, and the best schools to train you. Whether you're a beginner or already experienced, you'll find the perfect course to take your motorcycle to the next level and prepare for great adventures.
PerfectoHa sido la primera vez que hemos llevado a
Ha sido la primera vez que he llevado a mi hija. Y le ha encantado, ha salido pidiendo más clases. Así que nos veremos más veces por ahí ! Muchas gracias por la implicación la dedicación y el cariño con el que das las clases. DEFINITIVAMENTE VOLVEREMOS.
A mi peque le encanta, da gusto ver como poco a poco van evolucionando, de empezar dando vueltas y diagonales a realizar lo que mas les gusta... los desafíos de arena, bajadas, troncos, piedras... y viendo como va mejorando su control y como disfruta, es su sábado al mes diferente!
El curso fue una pasada, del principio a final. Javier es un gran profesor y todos los conceptos, tips y correcciones que nos estuvo haciendo nos hace tener mucha más confianza en nosotros mismos y la máquina que tenemos entre las piernas.
Gracias por acercarnos más a una mejor experiencia sobre nuestras motos.
Un día muy especial para mí porque tenía inseguridad en la conducción de mi moto nueva. Con muy buenos compañeros de curso y un instructor espectacular (Javier), que ha conseguido que aprenda conceptos y coja confianza en mi mismo y disfruté de la moto. Muchas gracias, a RM por ofrecer este maravilloso Curso
Mi hijo tiene 8 años y lleva mucho tiempo montando en quad.... Y quería probar el motocross.
Decir que ha sido un acierto y una muy buena experiencia.
Gracias a José las clases (porque fuimos para una y le gustó tanto que pagamos otra sesión) me encanta el trabajo que realizas... Y como tratas con los chavales.
Lo recomiendo
GRACIAS